
7 Simple Tips To Instantly Improve Your Cycling Photography Skills
The most common questions I get via Instagram are about tips to improve (cycling) photography skills.
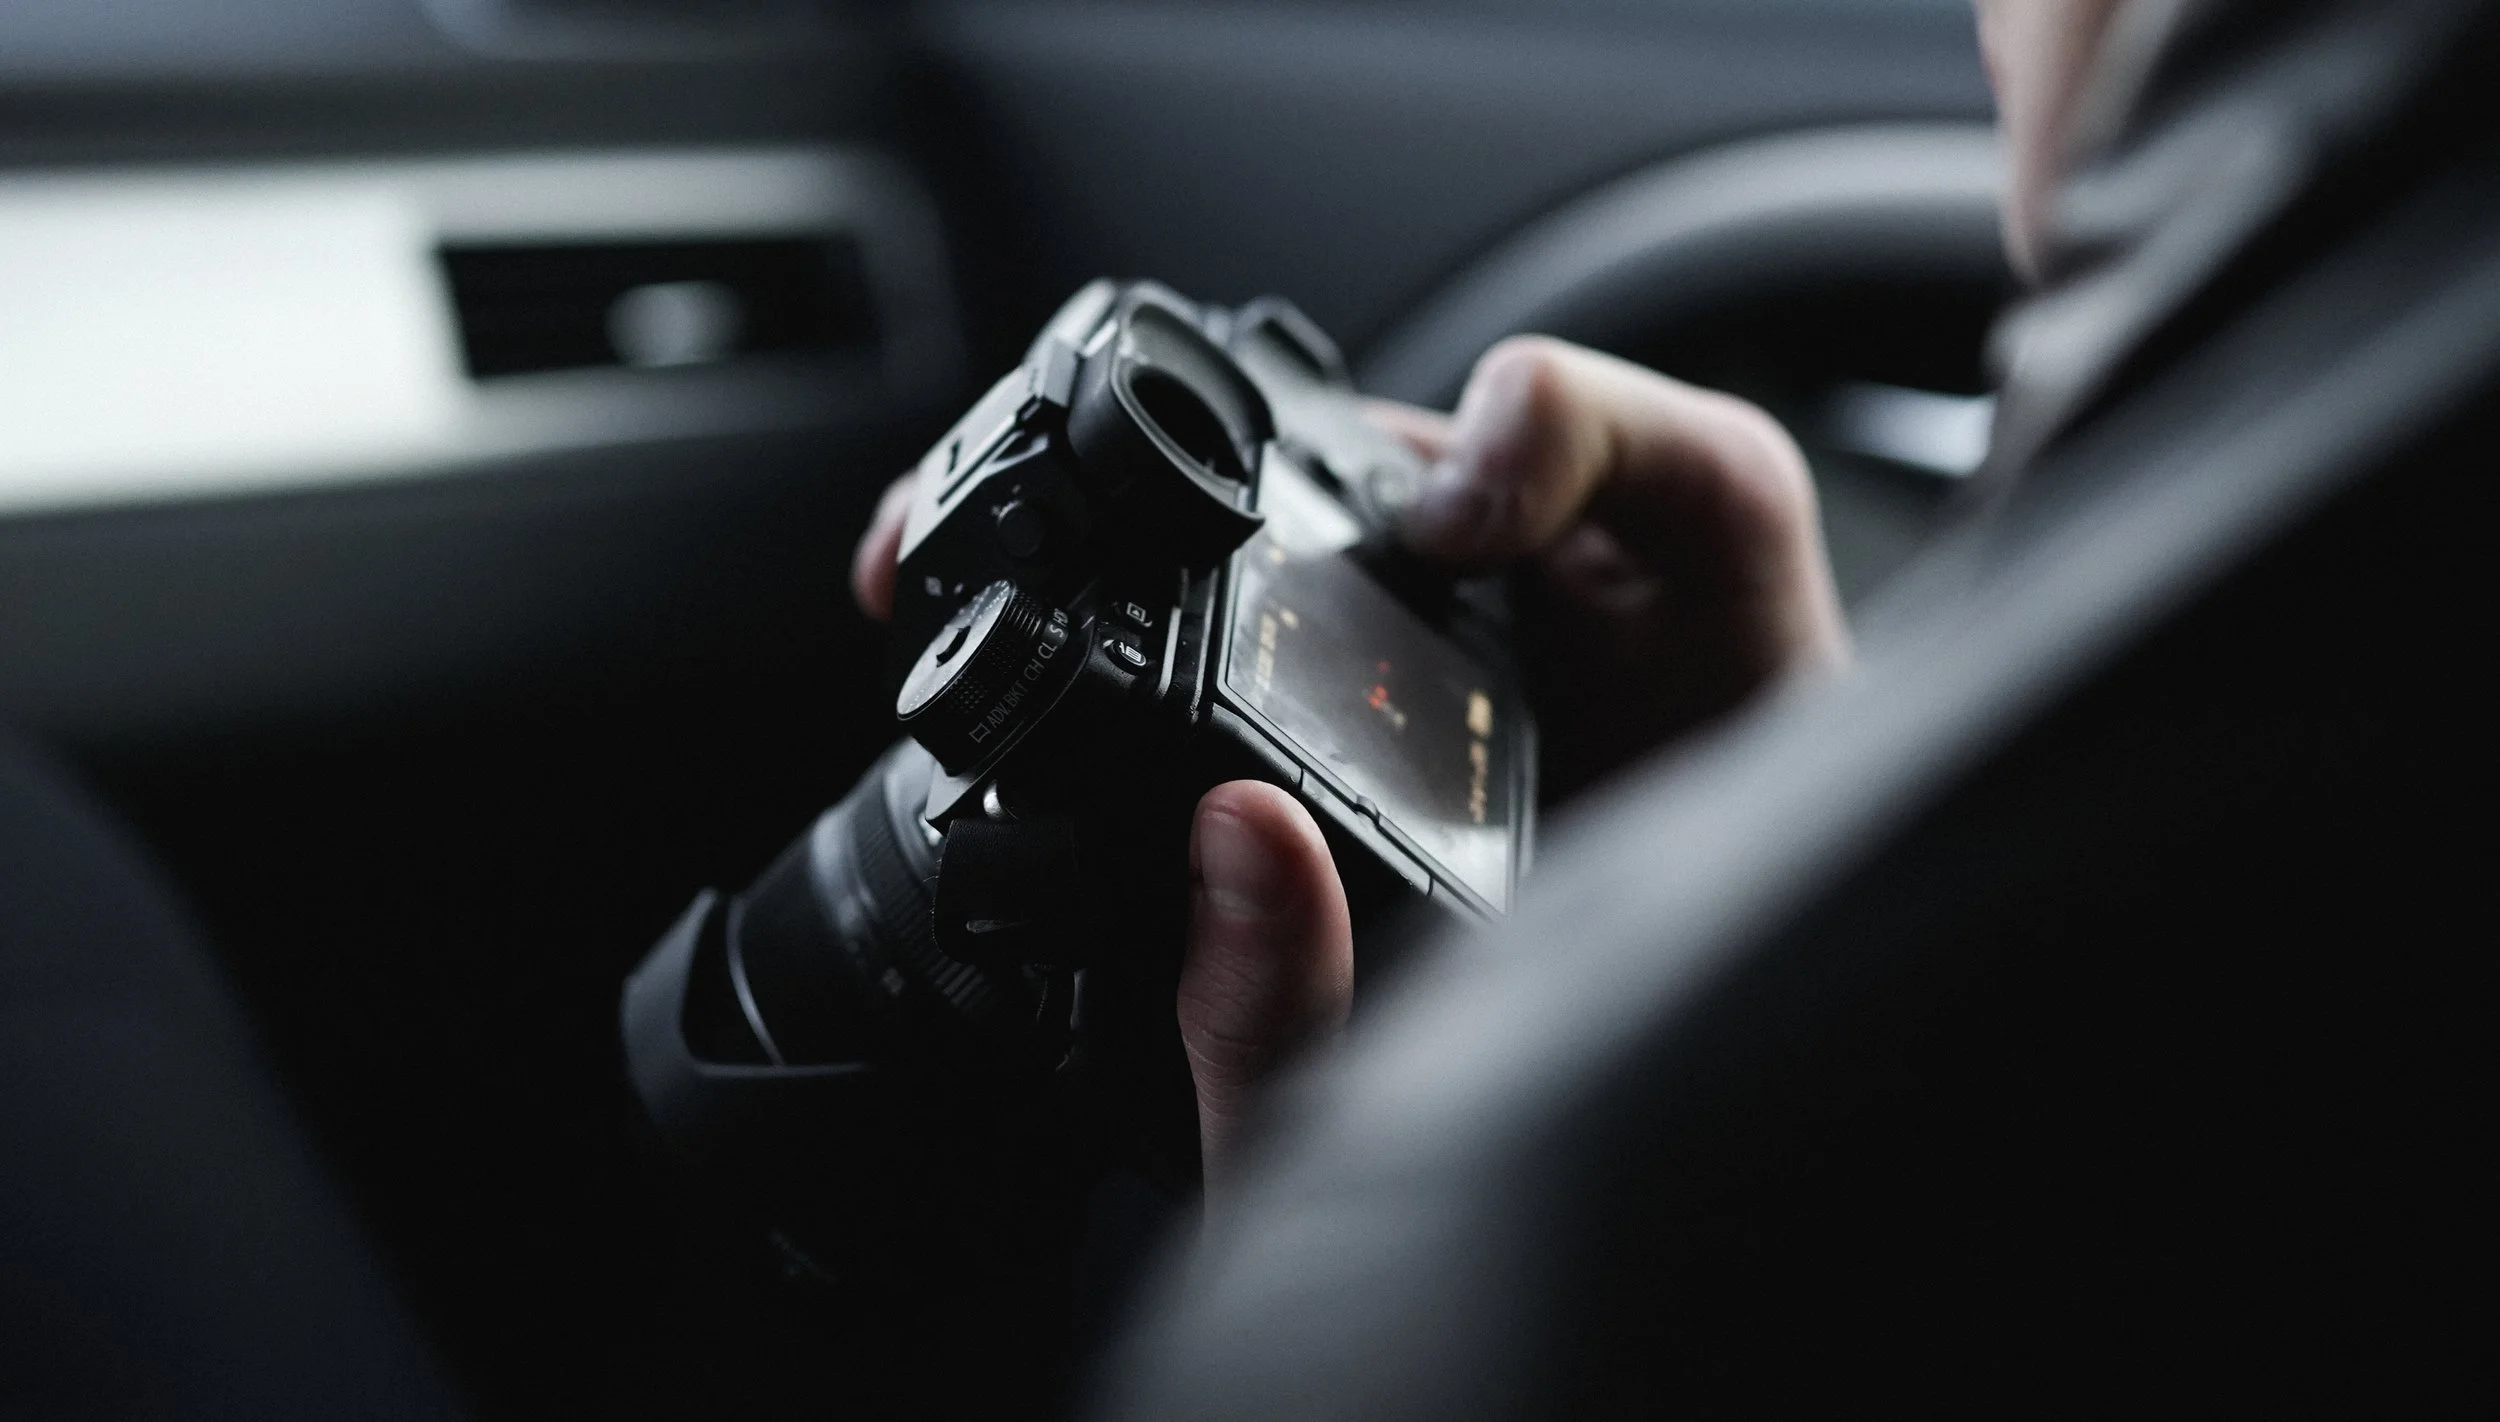
Although it’s flattering people ask me for advice and tips, by no means do I consider myself a photography kind of expert. I mean, I lack a fundamental background in the field of photography and cameras. And I’m really honest if I tell you that most of the time I have no clue what I’m doing. Nevertheless, over time I obviously learned a lot by just doing.
I truly think that if you want to improve your skills, the key is repetition. Not perfection. Don’t let perfect be the enemy of good enough. At least, that’s my path.
That being said, let me share these 7 simple tips I learned along the way that tremendously impacted my work thus far….
tip 1 - get inspired
Let’s start right here. Get inspired. I consider this the most important thing in photography. Improving your photography can easily be done by studying the work of others. A close examination of a photo you like while asking yourself what makes this photo so special to you can be of great help.
Is it about the composition? What about it? Is it about the angle? Was it taken low, or high? Is it about the light? Is it light and bright? Or is it dark and moody? Be curious! Make notes to help yourself process your thoughts.
Now you’ve done your study, go out and apply what you've learned yourself. Execute on it! You can even try to copy those shots. Keep in mind the goal here is not the copy. The goal is to learn how the shot is made and be able to give it your own twist later while consistently applying what you’ve learned yourself.
There will always be someone who’s better at whatever you’re doing. Just don’t get discouraged. Learn from them and then go your own way.
tip 2 - simplify the scene
I like simple scenes. Simplicity is my photography equivalent of minimalism. I like this composition technique that concentrates on keeping only the absolutely necessary in the frame.
When you strip out unnecessary details, it makes your composition plain and simple. It’s a way to easily create a striking image that holds attention. Let me share some of my recent examples…


tip 3 - play with focus
I love to play around a bit with focus. Focus not only create depth in your shots. Also, it highlights what’s important in the photo and what isn’t. The object that you focus on makes a big difference between an exciting image and a boring one.
You can try a lot of things while playing with focus. You can kick things off by trying a couple of things:
Create natural depth in a simple scene.
Focus on the non-obvious object. For example the background instead of the cyclist.
Shoot a shot that’s completely out of focus. Use manual focus on your camera and just focus randomly. Unfortunately, I don’t think you can do this with a phone camera. But if you take a camera with you this can turn out really nice.
In that particular order, below you find some examples recently shot by me…


tip 4 - play with shadows
I don’t feel like elaborating on which forms of light you can use for your photography. Nevertheless, shadows are easy to recognize for everyone, right?
To me, strong shadowplays that create strong transitions between light and dark are a great help to shoot nice shots. Just make sure the subject of your shot is (partly) situated in the lighter part of the picture.
Another few examples below…


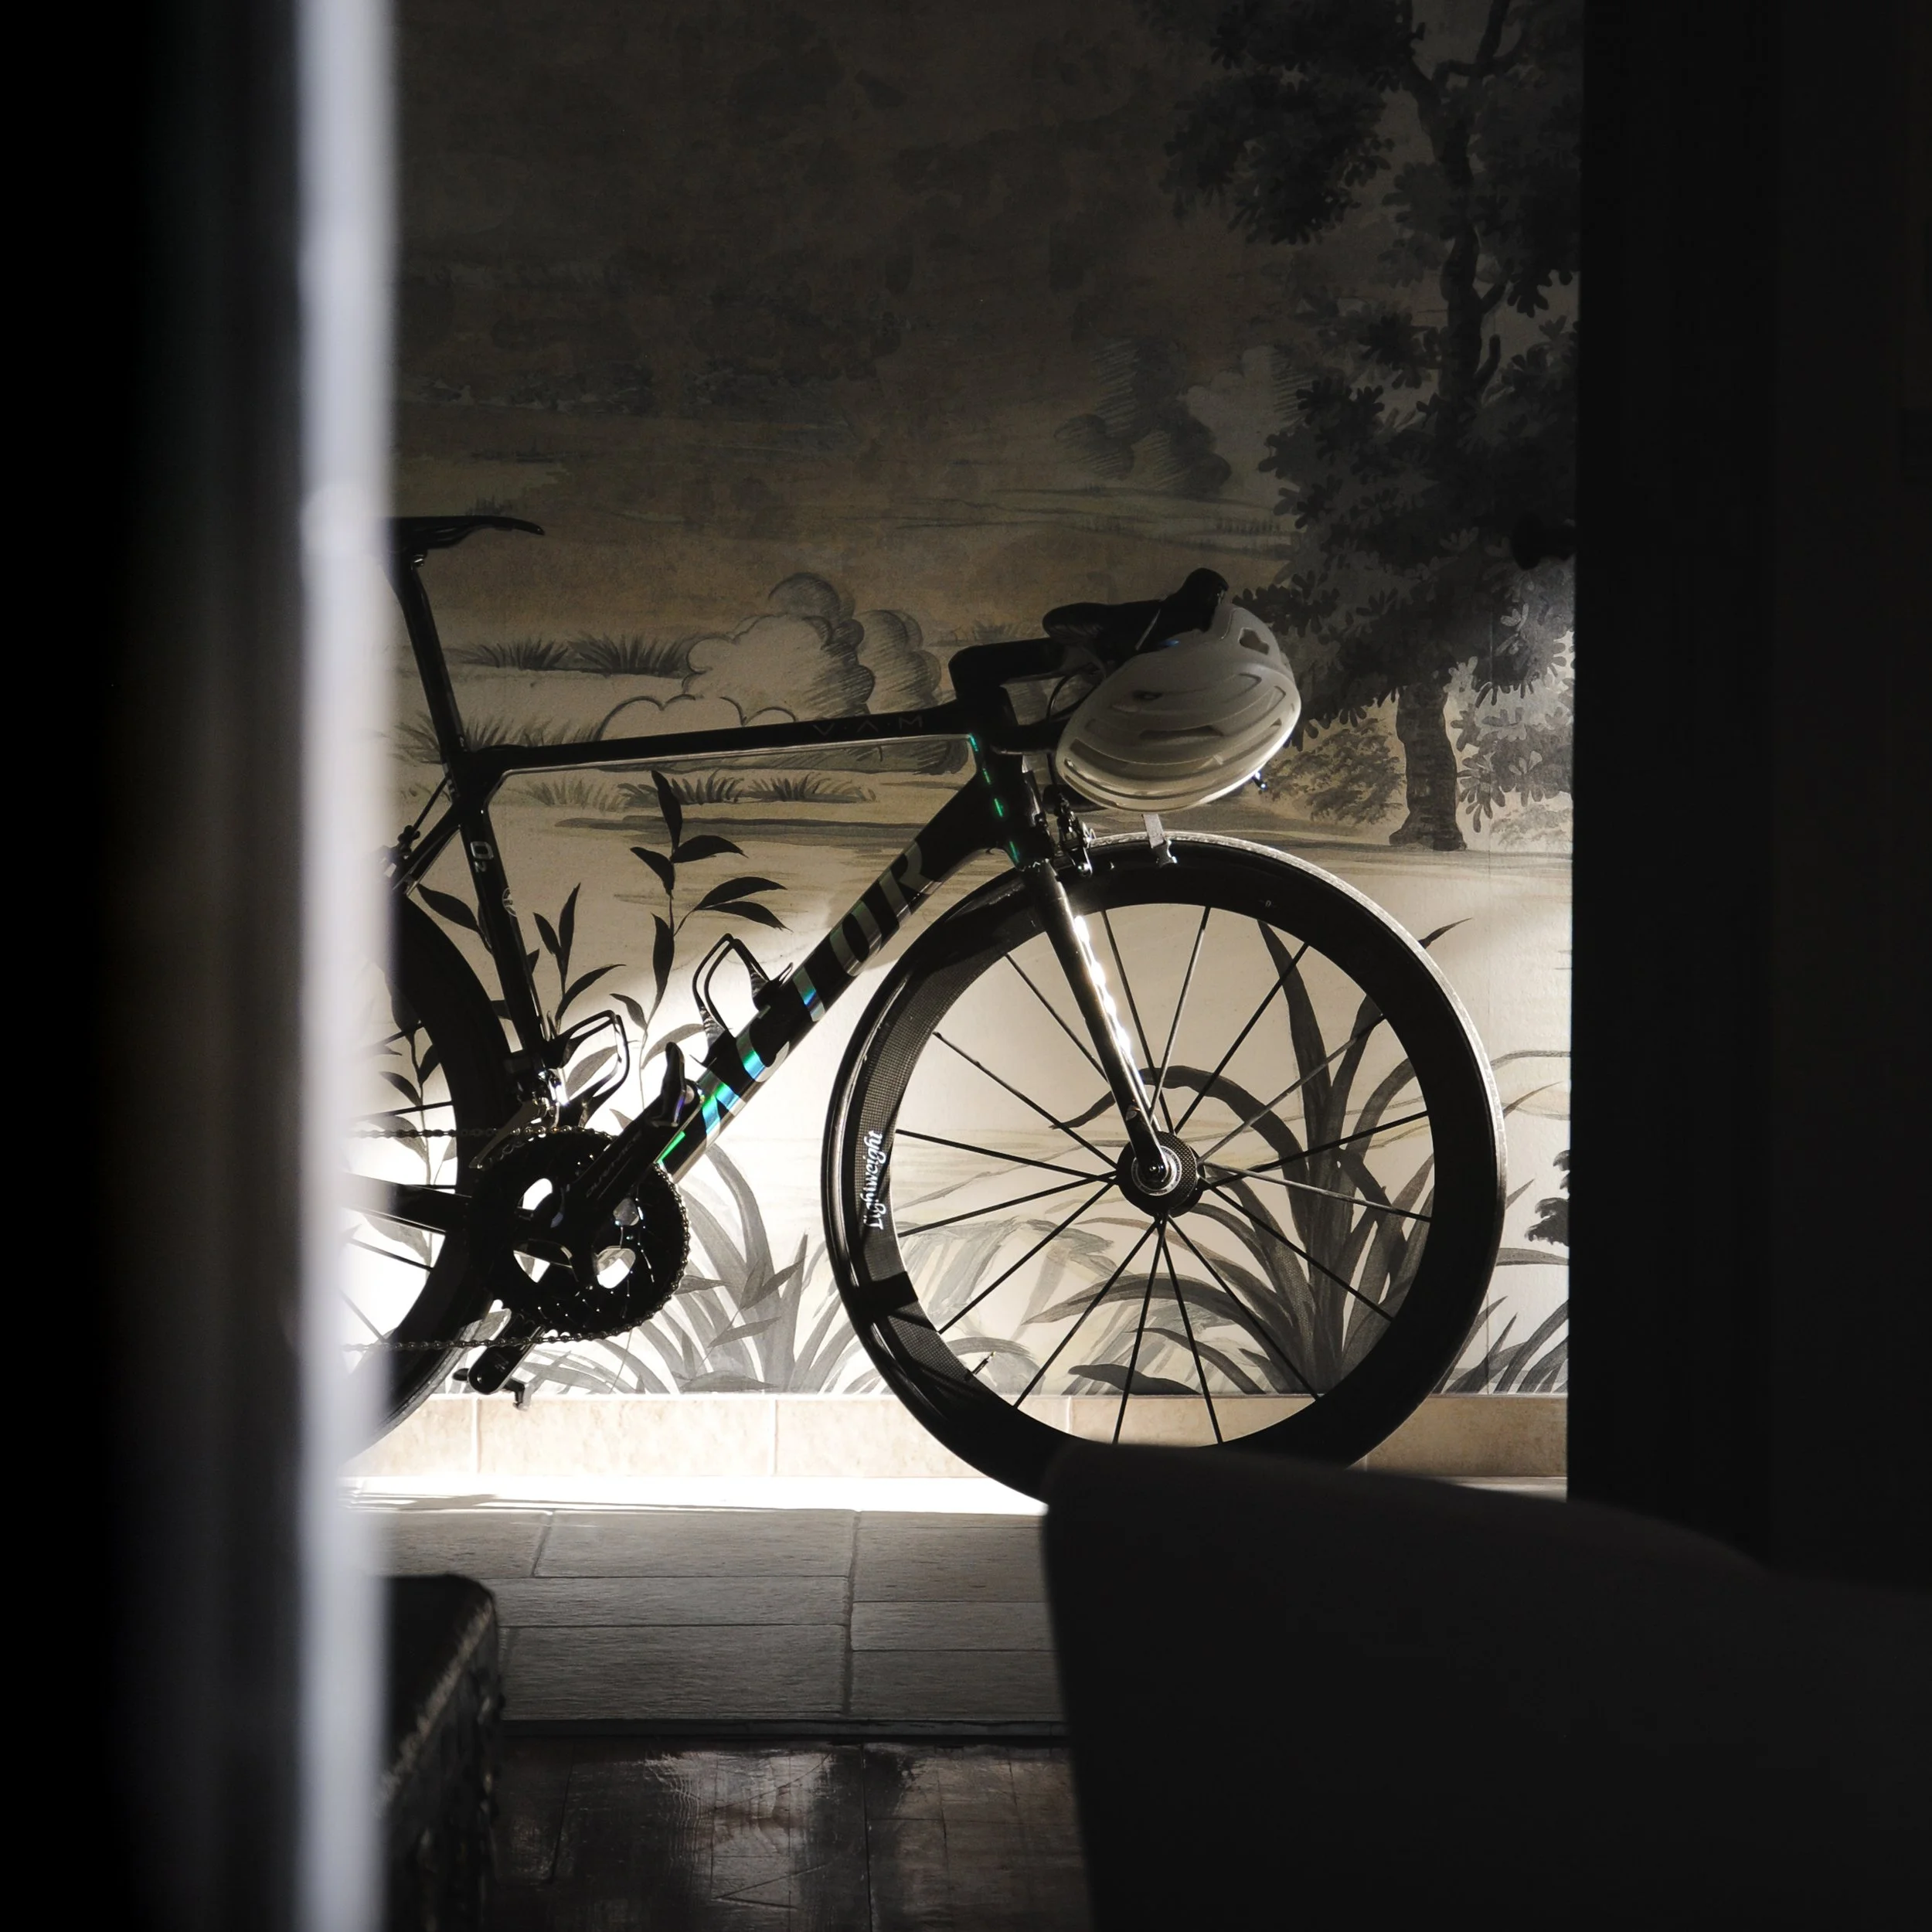
tip 5 - play with natural frames
Once you recognize the opportunities of natural frames for your shots, this is one of the easier composition techniques in photography to create really distinctive photography. It’s a subtle, yet effective technique. A well-framed shot should not only draw attention to the subject of the shot, it also adds depth and places the subject in a nice perspective by using this foreground frame. Done right, to me this technique makes shots much more interesting
For natural framing, you can make use of tree branches, walls, archways, hills, imposing rock faces, fences or anything else that could create a border or partial border around the subject of your photo.
It’s exactly what I did for these shots…


tip 6 - frame the cyclist
I often try to take a picture by positioning myself higher up. That enables you to easily frame the cyclist within the road like this…
Tho, the smaller the difference in heights and the closer you find yourself to the subject, the more challenging it can get to execute this properly. Finding the right point of view is one, but then the right framing also comes down to timing as you can see in the examples below…
This framing isn’t very nice…
This already looks way better…
Just know that this tip is truly a difficult one and differs very much depending on the specific setting and scenery.
tip 7 - play with burst mode
While we're on the subject of timing, I think this last tip is also a very valuable one. Also a bit underrated.
It’s making use of burst mode. Burst mode, also called continuous shooting mode, is this shooting mode where several photos are captured in quick succession. This is a very useful function of the (phone) camera when the subject is in successive motion, such as a cyclist. Shooting multiple shots in one go enables you to select the best image of the set.
I usually use burst mode to select the picture where the cyclist pedals with one leg up, and one leg down. I just think that this adds nice dynamics…


now, Go out and execute!
I really hope you enjoyed these tips and found some new insights. If so, feel free to share some words in the comments below.
Furthermore, just know, you won’t find all the secrets to great photography in this blog post, not in that next book, not in that next video. It's all about consistent application of what you've learned and taking it from there. I consider this to be like Google Search. If you struggle for the right results, just hit the back button and try something else…