Why I Prefer The Adobe Lightroom Mobile In-app Camera Over The Native iPhone Camera
Like many modern photographers, I also started capturing images with my smartphone camera. In my case my iPhone 4. Over the past decade, as smartphone cameras have evolved, so too have my photography skills. Then, about three years ago, I felt like I had reached the peak of what my iPhone’s camera could offer. So, for more creative control, I transitioned to this entry-level DSLR and later upgraded to my current camera, my Sony A7c.
from Camera photography back to iphone photography
However, a recent gravel ride almost killed my Sony when an unexpected rainstorm hit. Thankfully, the camera was repairable, but the incident left me hesitant to bring it along on rides with tricky weather forecasts.
In my quest for a compact alternative that I could easily stow away safely, I considered various point-and-shoot cameras, like the Sony RX100 and Ricoh GRIII. Meanwhile, reverting to my iPhone now and then left me frustrated. Not only the lack of control over manual camera settings on my smartphone like aperture, shutter speed, and ISO was limiting, but I also find the iPhone’s persistent distortion effects on straight lines incredibly annoying.
Then, a friend introduced me to the in-app camera within Adobe Lightroom Mobile, available for both Apple iOS and Android. Little did I know, this feature would be a serious game changer to my professional mobile photography, especially on those days when carrying my Sony isn't practical.
Keen to read why and how? Read on to learn more about how to reshape your photography toolkit.
key features of the lightroom mobile in-app camera
At its core, the Lightroom Mobile in-app camera is a wonderful tool that undeniably surpasses the capabilities of standard smartphone camera apps. While it may not include certain features like videos and slow-mo’s, it excels in pure photography prowess.
How to Shoot in RAW with Lightroom Mobile
The first standout feature is its ability to shoot in RAW format. A significant advantage when working with the small sensors of smartphones. This capability allows for greater control in post-processing, ensuring that none of the image data is compressed or lost.
Exploring Manual Settings in Lightroom Mobile
Secondly, the app comes with comprehensive manual controls. You can adjust exposure, shutter speed, and focus manually, providing much greater precision over your outcomes. The ability to modify ISO and white balance further helps a lot to capture without the urge to correct things during editing.
That being said, let’s proceed to some Adobe Lightroom Mobile tips and tricks.
shoot in professional mode and raw
When you initially launch Lightroom on your phone, the image management interface shows by default. At the bottom right corner, you’ll notice two small blue icons. The left one allows you to import images. The icon on the right is your gateway to the app’s powerful camera.
Setting the App to Shoot in RAW
One compelling reason to use the Lightroom Mobile camera app is its capability to shoot in RAW format, specifically Adobe's proprietary DNG (Digital Negative). This feature gives you the advantages typically reserved for cameras, such as enhanced dynamic range and image sharpening.
To switch your settings to RAW, tap the file type icon at the top of the screen. It defaults to JPG, but a quick tap changes it to DNG. Note that the availability of DNG format might vary with different phone models.
Switching to Professional Mode
Now, navigate to the bottom left of your screen and tap "auto." This will reveal two additional options: Professional Mode and High Dynamic Range. Select Professional Mode, and you now have full control.
Let’s take a look at the tools you have available here.
settings, tips and tricks
Lens Selection, Exposure Lock, and Live Filters
By tapping the lens selector, located to the right of the shutter button, you can switch between wide, ultra-wide, or telephoto lenses depending on your phone's capabilities. To the left of this, there's a lock icon that enables you to secure both exposure and focus. On the far right, you'll find live filters. While they're interesting to experiment with, they aren't my preference since they don't allow for the use of your custom Lightroom presets.
Moving up a line on the interface, you'll see the options Exp, Sec, ISO, WB, a focus mode icon, and a reset icon. Let me walk you through it.
Exposure Compensation
'Exp' stands for exposure compensation. Tapping this brings up a slider to adjust your image’s exposure up to +/-3 stops. Alternatively, dragging your finger left or right across the screen offers the same functionality, providing an even quicker way to adjust exposure on the fly.
shutter speed
'Sec' on the app allows you to determine the shutter speed. The feature I mainly find immensely cool. By default, it's set to Auto, but you have the flexibility to manually adjust it from as long as 1 second to as short as 1/10000th of a second. Similar to traditional cameras, adjusting the shutter speed directly impacts the brightness of your photo, enabling you to create specific effects. You can freeze action with faster speeds or capture motion blur with slower ones. For those new to this concept, shutter speeds under one second are typically expressed in fractions. For example, 1/4 means a quarter of a second, while 1/250 denotes one-two-hundred-and-fiftieth of a second or four milliseconds
Now, your challenge is that your choice of shutter speed significantly affects brightness. Longer speeds will brighten the photo, while shorter speeds will darken the image. Unlike more sophisticated cameras, phones offer limited options for compensating for this effect. However, experimenting with different shutter speeds in varied lighting conditions can unlock a level of creativity unattainable with your phone’s default camera app.
Setting ISO, white balance and focus mode
Adjusting the ISO changes the camera's sensitivity to light. The range here extends from full auto to a specific range between ISO 25 and ISO 2000. Experimenting a lot with different ISO settings in varied lighting is something I would highly recommend.
WB, or white balance, adjusts the color balance of your images. It affects how warm or cool your photos appear. You can select auto white balance, choose from several presets, or use the white balance picker to select a balance point directly from your image. If you're new to this, starting with the auto setting is what I would recommend.
The default focus mode is automatic, but you can manually adjust focus using a slider, with a peaking display to indicate which parts of your image are sharp. While you can experiment with manual settings, you can activate the auto-focus function by tapping the screen. I think this is generally the most convenient for everyday use.
Bonus tip? Pressing the lock icon will lock focus so you can walk around to find the right composition.
the reset option
Though I rarely use it, the reset function restores all settings to their default statuses. It's a quick fix to revert any changes if you've adjusted multiple settings and want a clean slate.
FLASH, ASPECT RATIO, TIMER, GRIDS, AND OTHER SETTINGS
Located at the top left of the camera interface, the flash icon allows you to toggle flash settings to auto, on, or off. On the opposite side, you can switch between your front and rear cameras with a simple tap.
For even more detailed settings, tap the three vertical dots at the top right to open an additional menu. This menu provides options for selecting your default crop ratio and setting a timer for delayed shots. You can also choose overlay options for composing your shots well and activate the highlight clipping feature, which helps identify and adjust over-exposed areas before you take your shot.
further reading
For even more details, you can also explore the how-to articles available on the official Adobe website. I mainly love how they explain in detail how to quickly access the in-app camera by creating shortcuts.
Read the iOS article here or the Android article here.
save your images and post-process them directly in adobe lightroom mobile
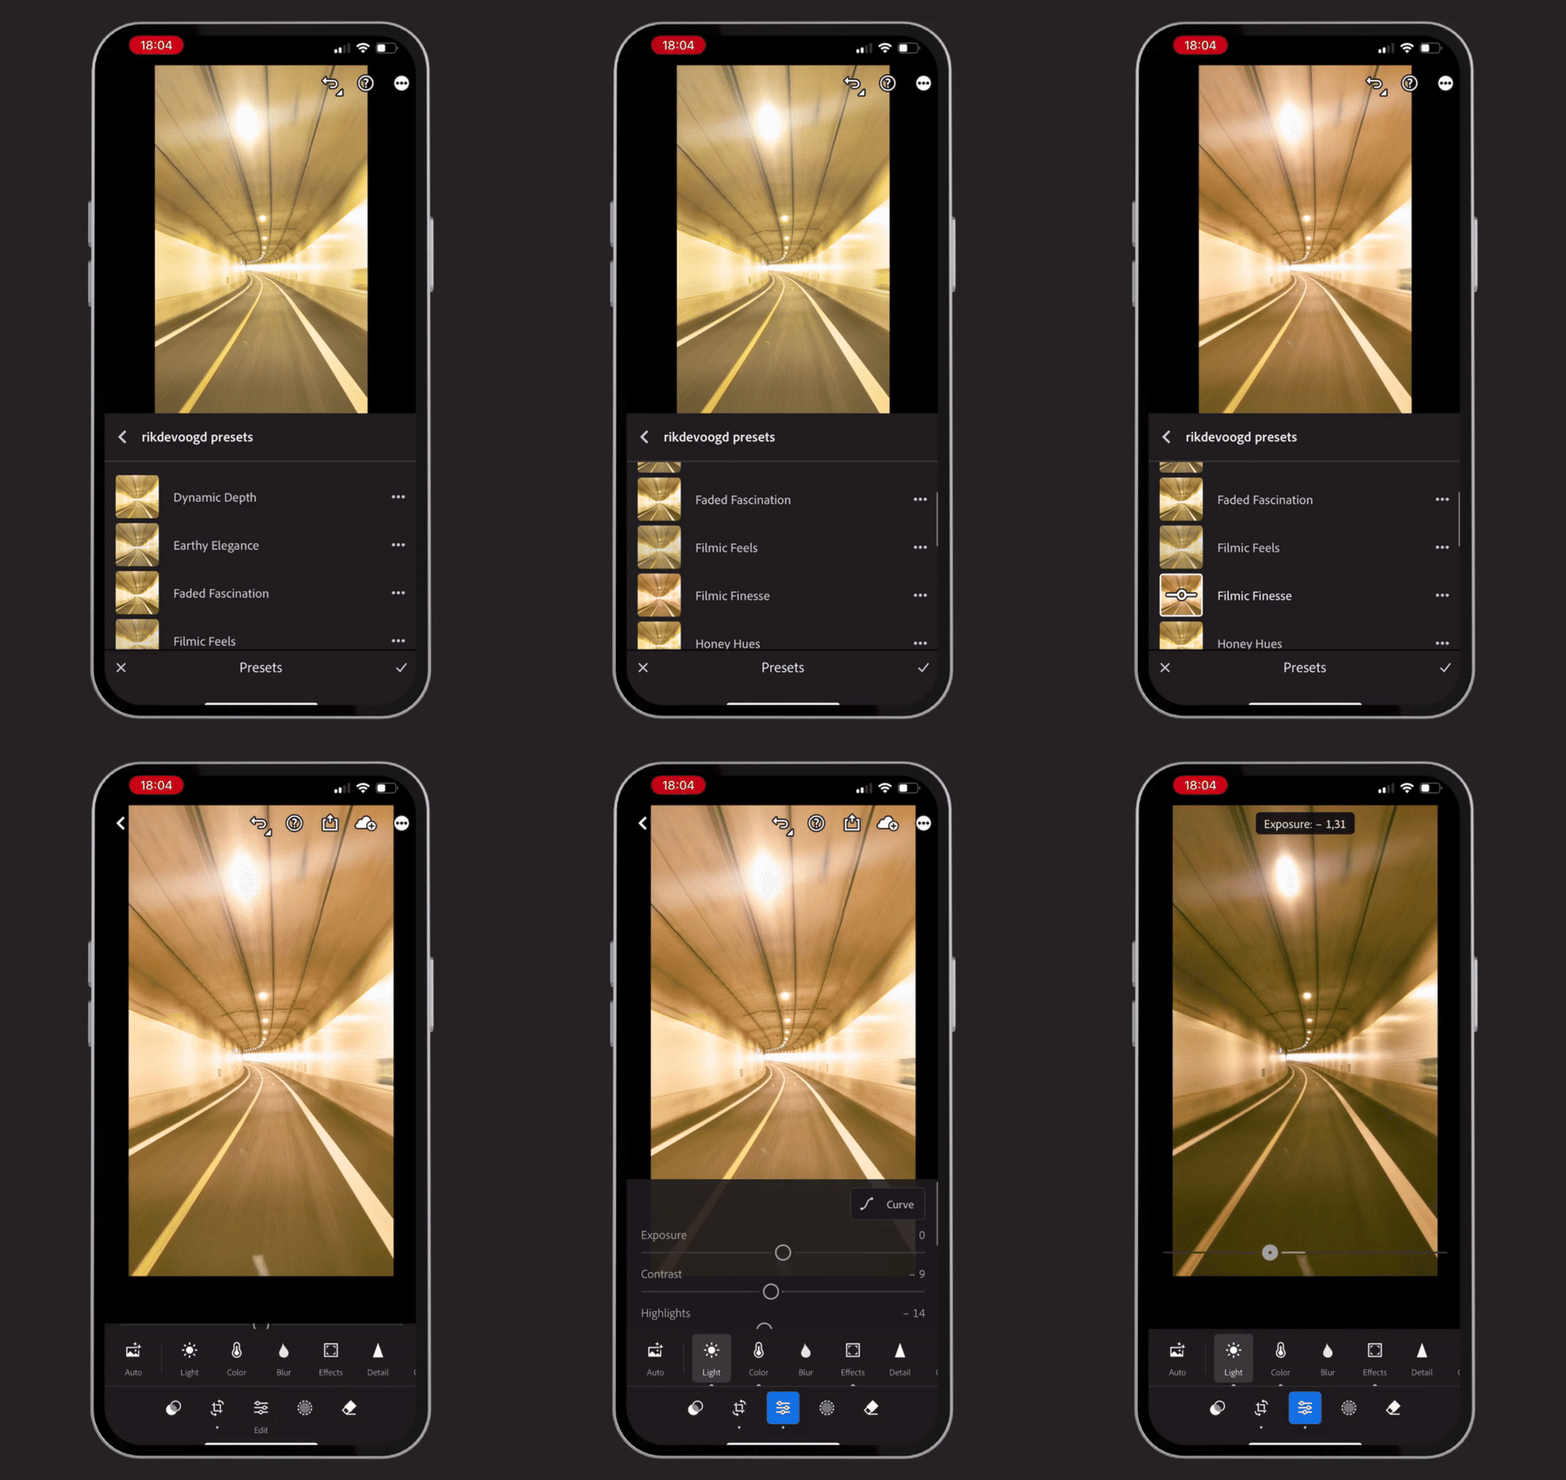
After capturing your images, the app automatically saves them to your library. From there, you can dive into post-processing using the extensive range of editing tools that make Lightroom a favorite among many photographers like myself.
Now, perhaps the editing topic deserves a detailed follow-up in another blog post. What would be interesting to get started is checking out my Lightroom presets here.
Furthermore, while I contemplate a blog post on the editing topic, I also highly recommend subscribing to my monthly newsletter to ensure you’re the first to know when it launches!
GO OUT FOR A RIDE AND TRY THAT LIGHTROOM IN-APP CAMERA
To wrap this up I dare to say that Adobe’s Lightroom Mobile in-app camera is the best mobile camera app you will find out there. And, I highly encourage you to try out the Lightroom Mobile camera app on your next ride, or maybe it would be safer to try things off the bike first. Just go and play with the settings, experiment with the manual controls, and see how creative progress you can make.
I'd love to see what you come up with! To do so, feel free to hit me up on Instagram and share your results in a DM, okay!? I really can't wait to see them!


